8 first-and-last-frame ideas for AI video creators
If your clips still feel like isolated prompt demos, first-and-last-frame control is one of the easiest ways to make them feel planned. Use it for product reveals, fake robotic moves, title beats, dramatic zooms, and low-cost rhythm shots when you need a smarter transition.

It treats first-and-last-frame control like a shot list, not a magic button.
That is the whole value. Instead of obsessing over one perfect prompt, you decide what kind of transition you need, map the beginning and ending image, then let the model solve the middle. That makes the output easier to direct and easier to reuse across a larger edit.
- product or object reveals that need a clean before/after beat
- stylized camera moves that would be annoying or expensive to shoot for real
- short filler clips that carry music rhythm or bridge two sections
- title moments that feel designed instead of pasted on later
8 practical ways to use the move
Hook frame opener
Use a clean opening frame as a promise. The destination frame tells viewers what the shot is about before the motion even starts.
Polished product reveal
Think glossy ad energy: a controlled transform from simple object shot to fully staged product moment.
Clean creator-tech reveal
Great for gadget explainers or modern desk setups where you want the move to feel smart, not overcooked.
Robotic arm move
Fake an expensive mechanical move by defining the start angle and end angle first, then letting the model connect them.
Hitchcock zoom beat
Use the technique when you want tension or surprise. It is one of the easiest cinematic cheats to prototype fast.
Animated title moment
Instead of dropping text on top at the end, build the title shot as part of the transition itself.
Creative transition move
Use it to connect scenes, objects, or moods. The value is not the trick. The value is the edit glue.
Cheap rhythm filler
When you are short on footage, this can carry pace, cover a beat in the music, or replace a costly pickup shot.
A simple stack for rebuilding the workflow in English
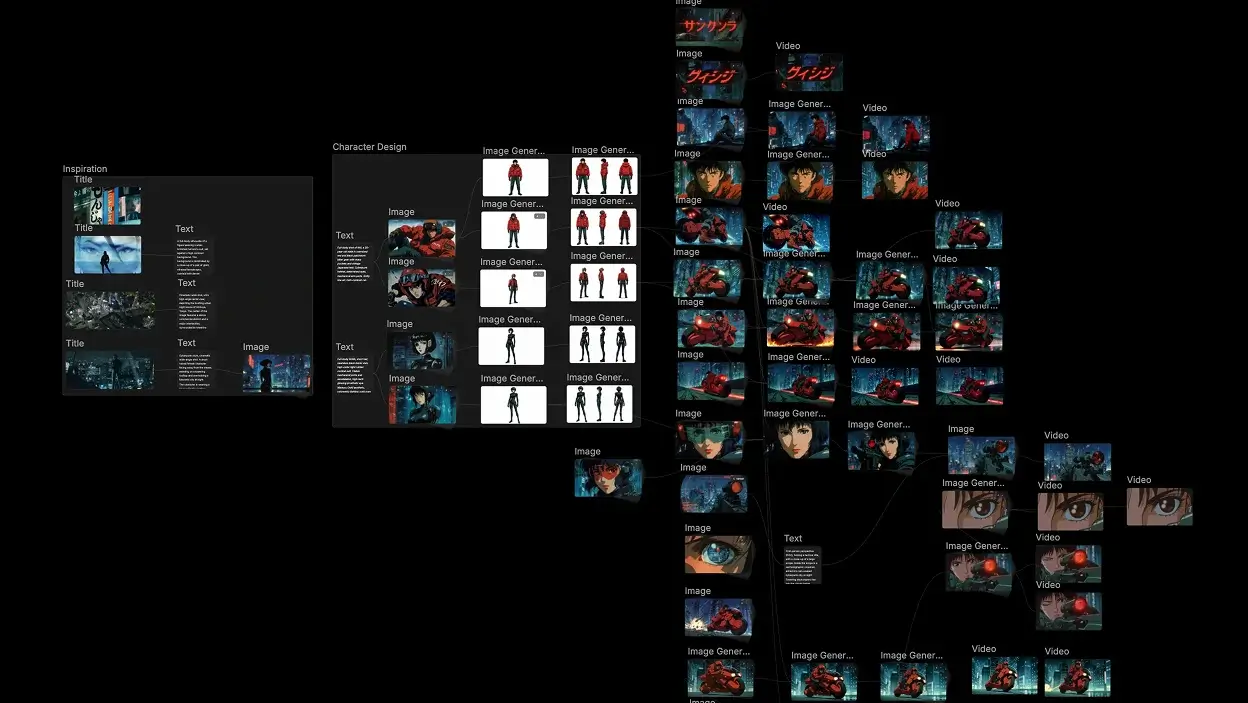
1. Map the move on a canvas
A canvas tool helps you keep the start frame, end frame, and supporting references in one place before you generate anything.
- good for locking the transition logic
- helps you compare alternate endings fast
- keeps the shot from turning into one messy prompt blob
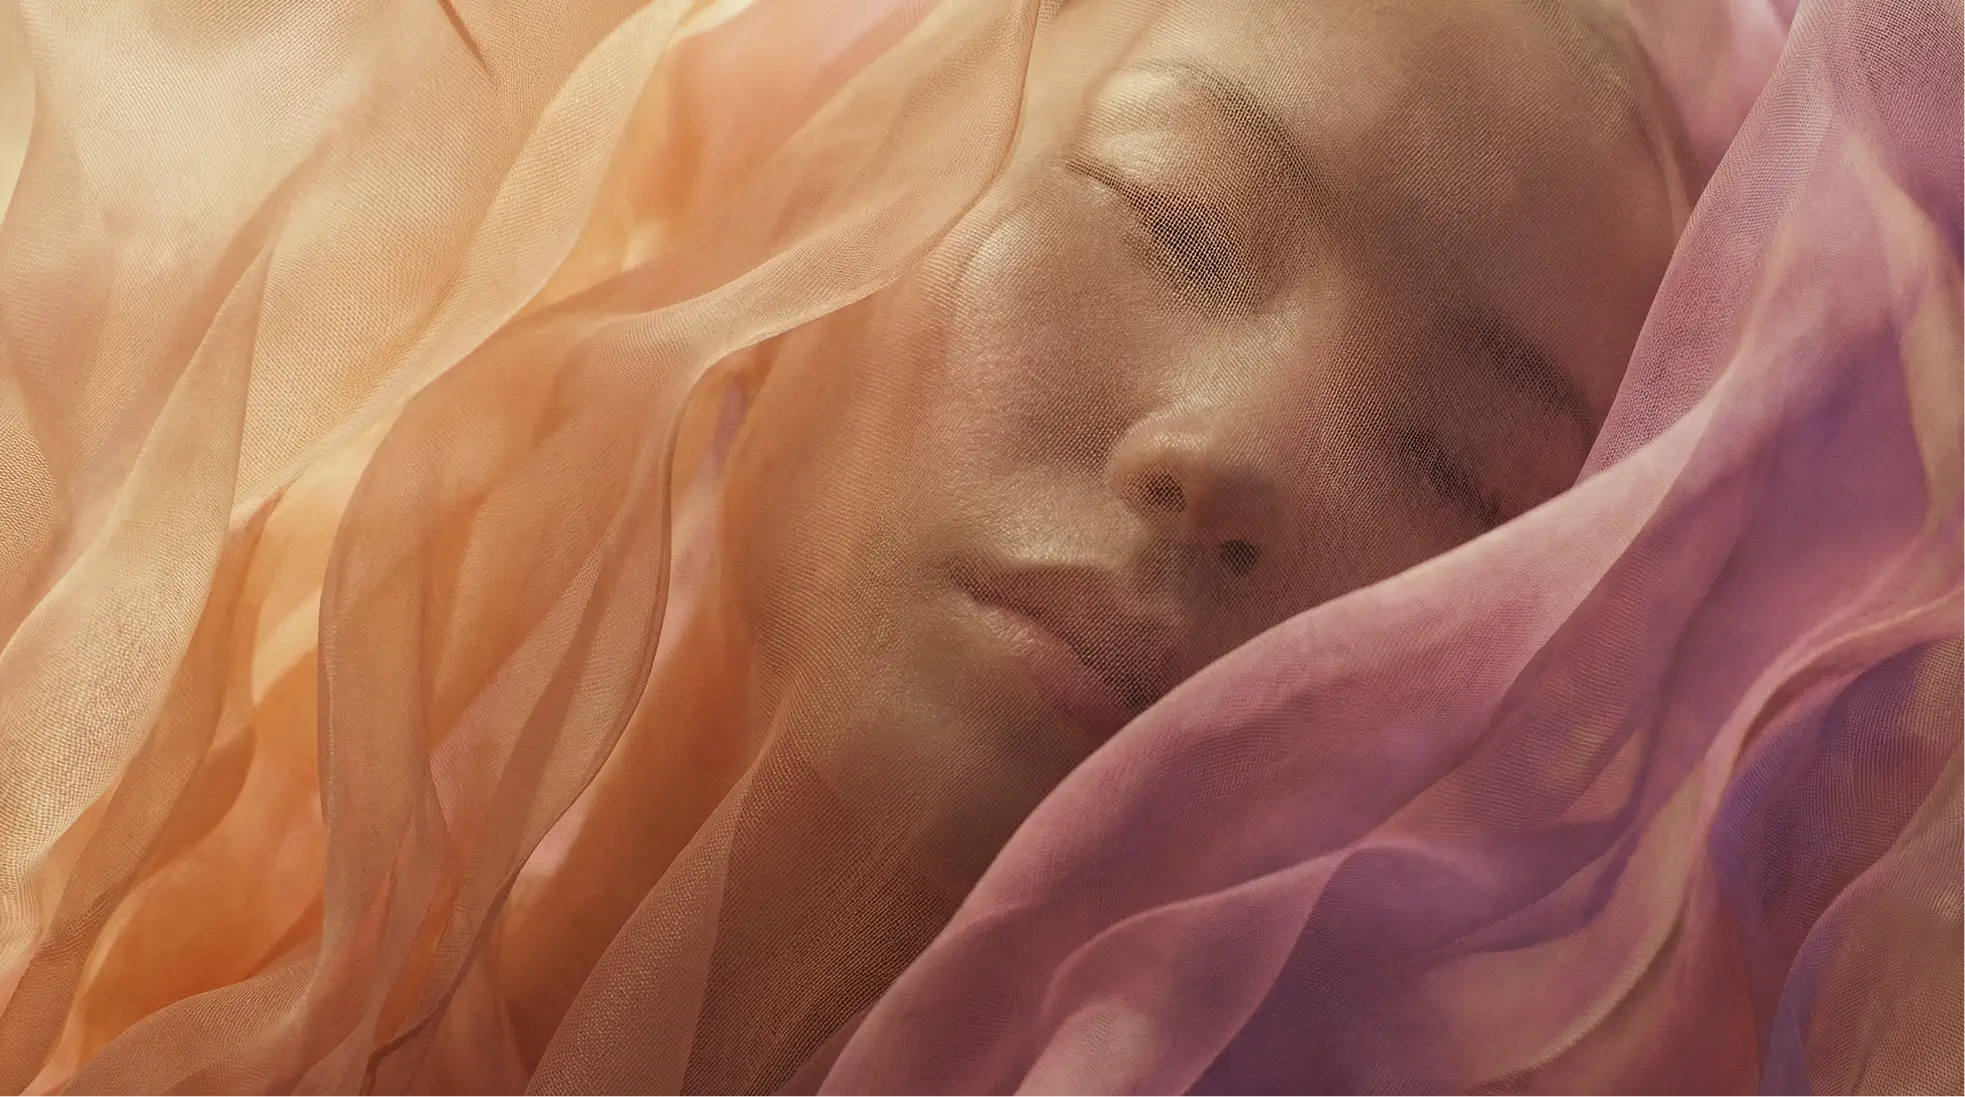
2. Build references before the motion
This is the step creators skip. If the two anchor frames are weak, the in-between motion will not rescue the shot.
- choose the exact destination image first
- keep composition clear and readable
- save stylized camera words for the final pass
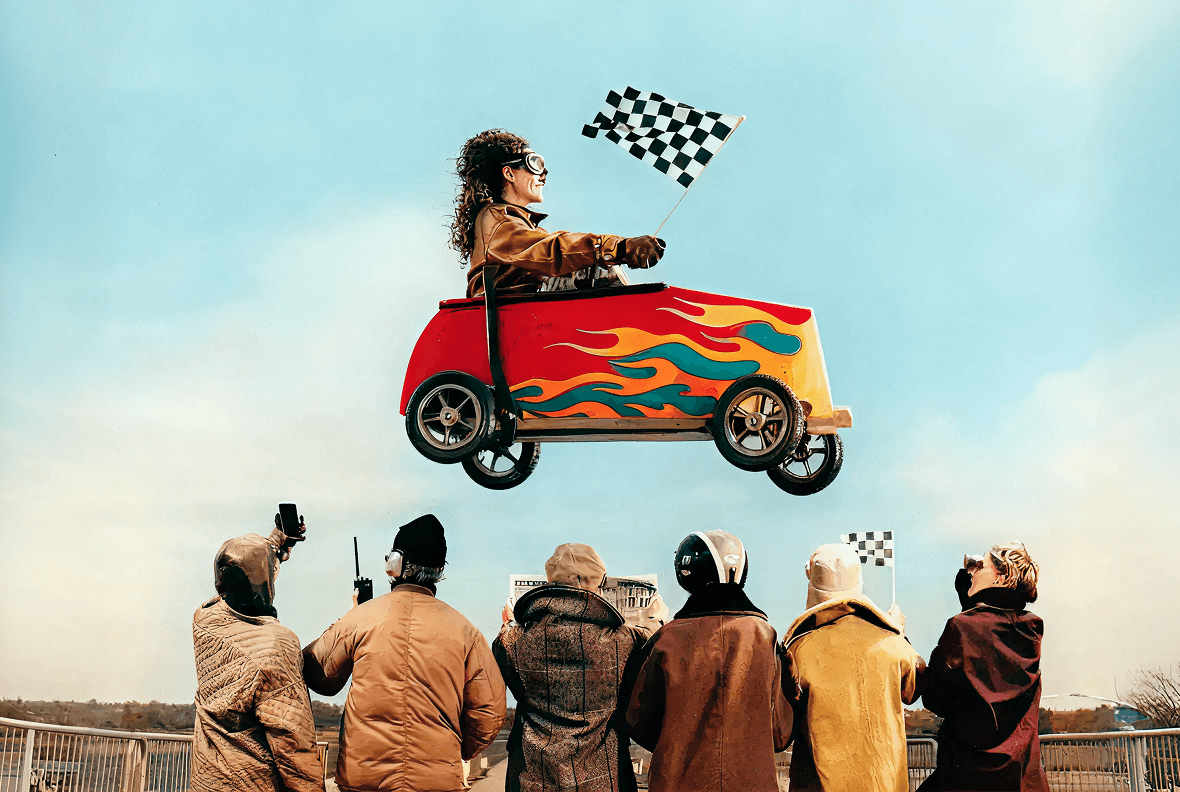
3. Generate, then refine lightly
The source creator used Lovart, TapNow, and Kling 2.6. Today, the same logic also maps cleanly to Seedance and similar models.
- generate the move in Kling or your closest equivalent
- upscale only if the shot actually needs it
- watch for extra detail that makes the clip feel synthetic
It gives each tool one clear job.
The canvas is for planning. The reference stage is for visual intent. The video model is for interpolation and motion. Once those roles are clean, the output usually looks more deliberate.
Starting with the movement instead of the endpoints.
If the first and last images do not already look like they belong to the same shot idea, no amount of dramatic camera language will fix the middle.
Use it where edits need glue.
- transition shots between scenes
- product intros and outros
- micro-budget fillers for rhythm
Plan the destination, then animate the journey.
A good first-and-last-frame shot feels less like a random model trick and more like a decision an editor made on purpose.