OmniFit
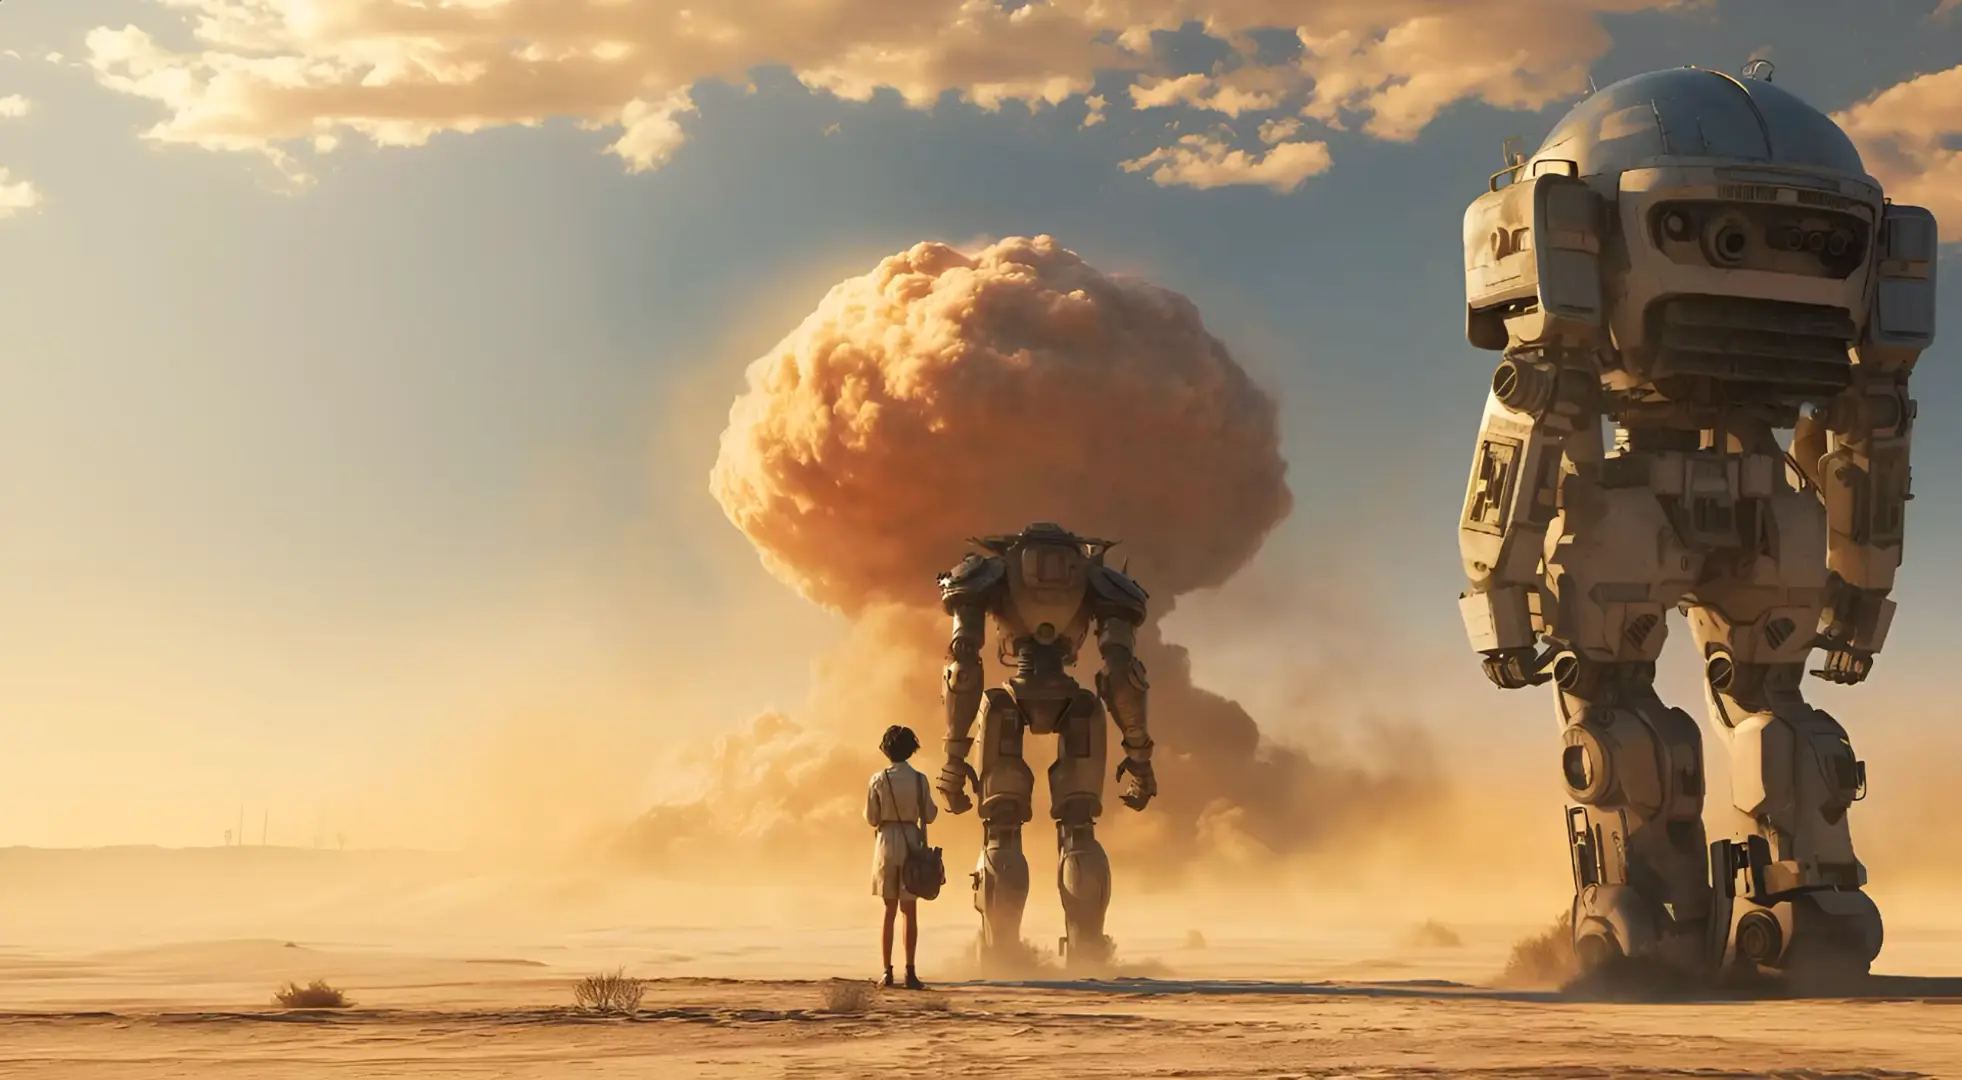
Cinematic AI video still showing a desert traveler standing beside two giant robots at golden hour.
Workflow note · by Xiao Xiang

A Four-Tool AI Microfilm Workflow You Can Actually Finish

If your AI short film ideas keep dying between script and export, this is a cleaner chain to copy: one tool for story, one for shots, one for music, and one for the final talking moment.

Script → shots → score → lip sync Best for 30–90 second story clips Useful even if you swap the exact apps

Why this workflow is worth stealing

The source note is strong because every tool has one clear job. It does not ask a single app to be the writer, director, composer, and actor all at once. That usually makes AI short films feel less random and much easier to debug.

Good shortcut: keep your script short, generate clips scene by scene, and only add dialogue after the visual rhythm works.
Watch the workflow logic in motion

This companion video is not the same tool stack, but it matches the same job well: build a short AI film with a real sequence instead of poking one prompt until something happens.

Youri van Hofwegen 15K views · Jun 1, 2026 Full workflow
Step 1 · Script

Ask for a short screenplay, not a blob of inspiration

The source note starts with a generated script and asks for a proper structure. That is the important part. You want a short film skeleton with turns, beats, and motion cues baked in.

  • Ask for a three-act micro story, even if the finished clip is under a minute.
  • Make each beat carry a scene, character action, and mood shift.
  • Add a simple instruction like: suggest camera movement for key beats.
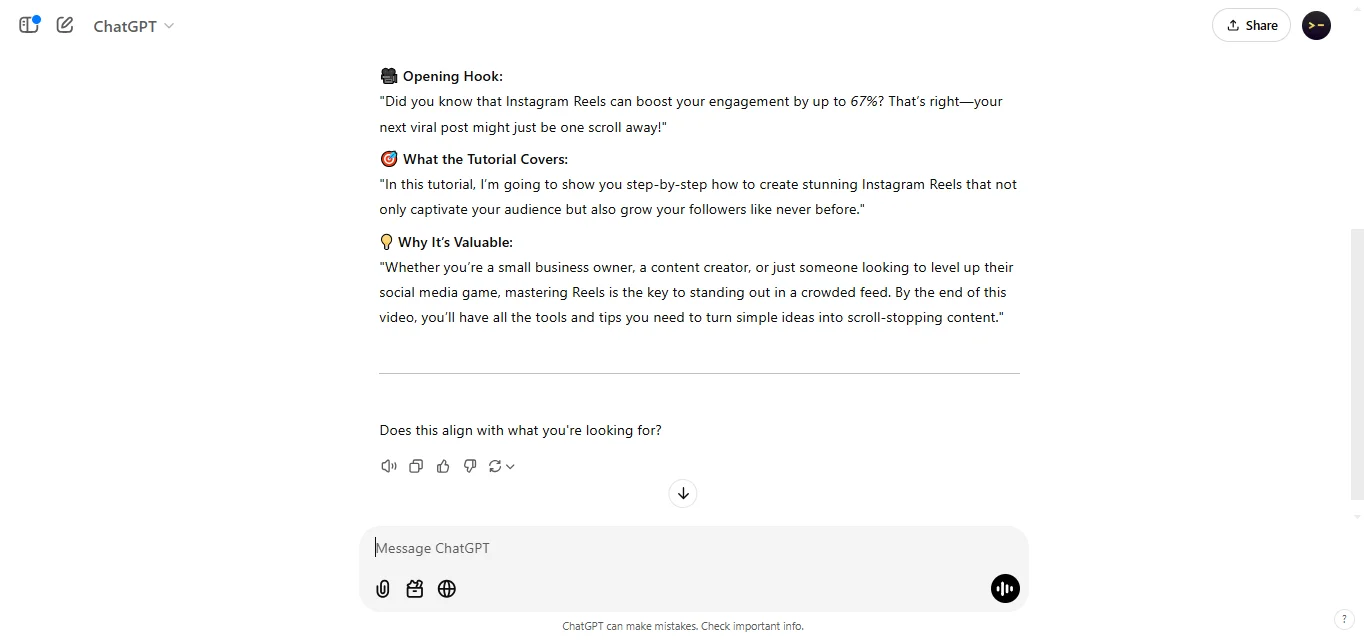
Prompt-style script planning screenshot for turning a short idea into an AI video screenplay.
Step 2 · Shots

Generate scene clips one by one in Vidu

This is where the source gets practical. Instead of one huge film prompt, it suggests working at the shot level and tuning the camera language directly inside Vidu.

  • Use a cinematic aspect ratio like 2.35:1 when the story wants a film look.
  • Keep motion specific. The source note calls out prompt patterns like slow zoom in, drone-like city movement, and shot-by-shot lens direction.
  • Think in short segments. A 5-second clip is easier to keep coherent than a giant one-shot fantasy.
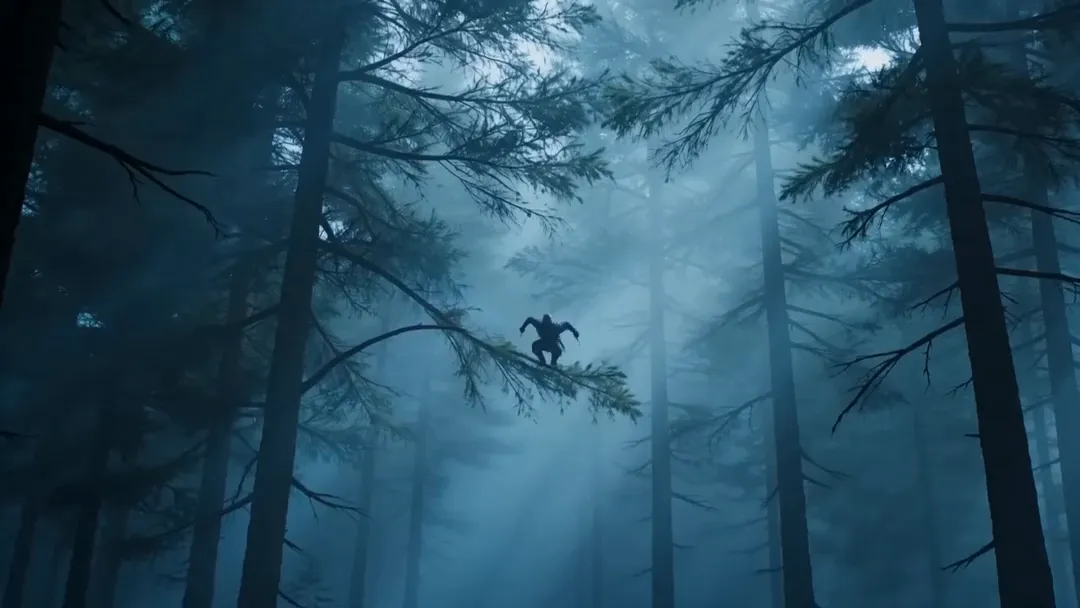
Cinematic Vidu-generated action shot showing fast motion and strong camera perspective.
Step 3 · Score

Write the music prompt around emotion keywords

The source note uses Suno after the picture direction is set. That order matters. Your soundtrack should support the cut you already know you want.

  • Feed in emotion words from the script, not just a broad genre label.
  • If the story is tense or dark, say so directly. The note gives examples like shadow / abandoned / self-driving bell sound and a cinematic ambient feel.
  • Push intensity only when the scene actually needs it. More mood is not always better mood.
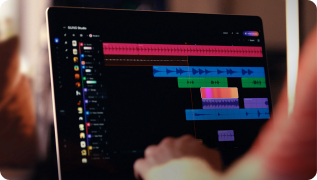
Suno Studio workspace image representing AI music generation for film scoring.
Step 4 · Voice + face

Save HeyGen for the one line that needs a mouth

The source note ends with lip-sync, not the whole film. That is the smart move. Talking avatars work best when they solve a narrow scene problem instead of carrying every frame.

  • Upload the finished clip or character frame you want to speak.
  • Paste the exact dialogue and strengthen emotion only if the delivery feels flat.
  • Keep lip-sync tight and the line short. A clean reveal usually beats a long monologue.
HeyGen editing interface showing a scripted video layout for AI-generated presentation scenes.

The best extra tricks from the source note

  • Use match cuts on purpose. The note specifically recommends transition logic that links one focal point to the next instead of hard-jumping between unrelated frames.
  • Write shot rhythm into the prompt. Action shots can be shorter, while story or dialogue shots can breathe longer.
  • Call out film language. Soft light, volumetric haze, contrast direction, and lens style all help your clips feel like the same world.