
A clean talking-photo stack you can build in one sitting
The useful part of the original note is not just the free-tool angle. It is the sequence. First you improve the character image. Then you generate the voice. Then you bring both pieces into HeyGen so the avatar speaks from that finished audio. That is easier to control than asking one app to do everything at once.
Make a cleaner version of the character image
Start with ChatGPT or Gemini to help restyle the character visual. The idea is to take the original flat image and rebuild it as a sharper, more presentation-ready still before animation begins. That extra step matters because motion exaggerates every flaw in the source frame.
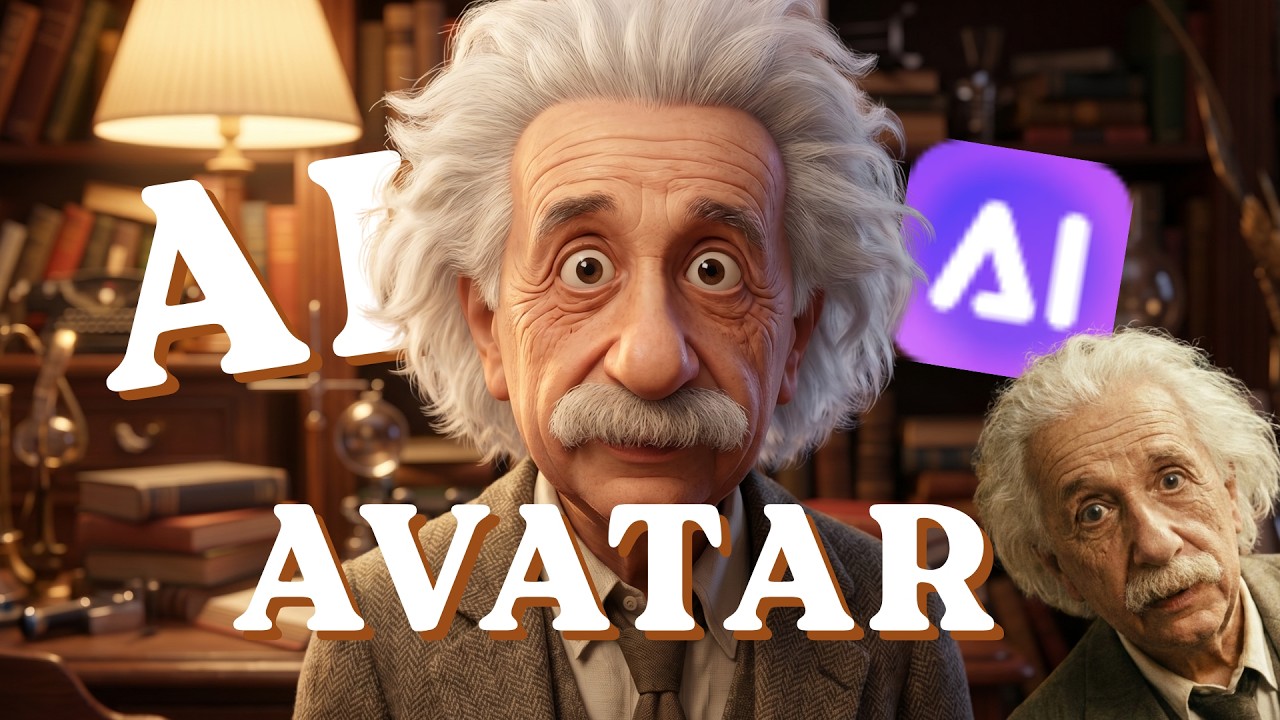
- Use the original image as your base reference.
- Restyle it into a cleaner, more presentation-ready character.
- Keep the expression and pose simple so the next step stays stable.
Generate the voice first so the avatar has something real to follow
Once the character still is ready, write the line and make the voice track in ElevenLabs. Export the MP3 before you animate anything. That gives you a fixed piece of audio to build around instead of guessing timing later.
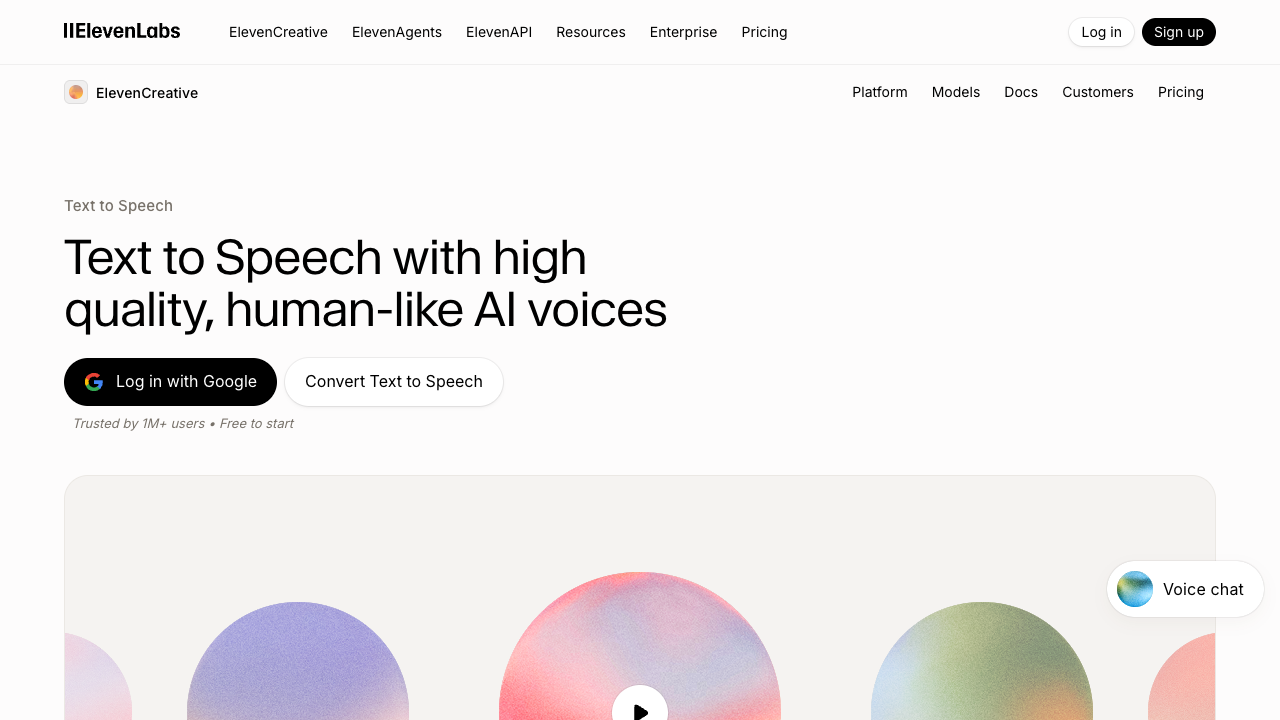
- Paste the script into the TTS tool and export a clean MP3.
- Keep the read simple and clear so the avatar step stays believable.
- Lock the voice first, then animate to that audio instead of changing both at once.
Bring the image and audio into HeyGen to make the talking avatar
Now move the upgraded still and the finished MP3 into HeyGen. Its talking-photo workflow is the integration step: one image plus one voice track becomes a short speaking avatar clip. If you want, you can drop the exported result into PowerPoint afterward, but the actual talking-avatar build happens here.
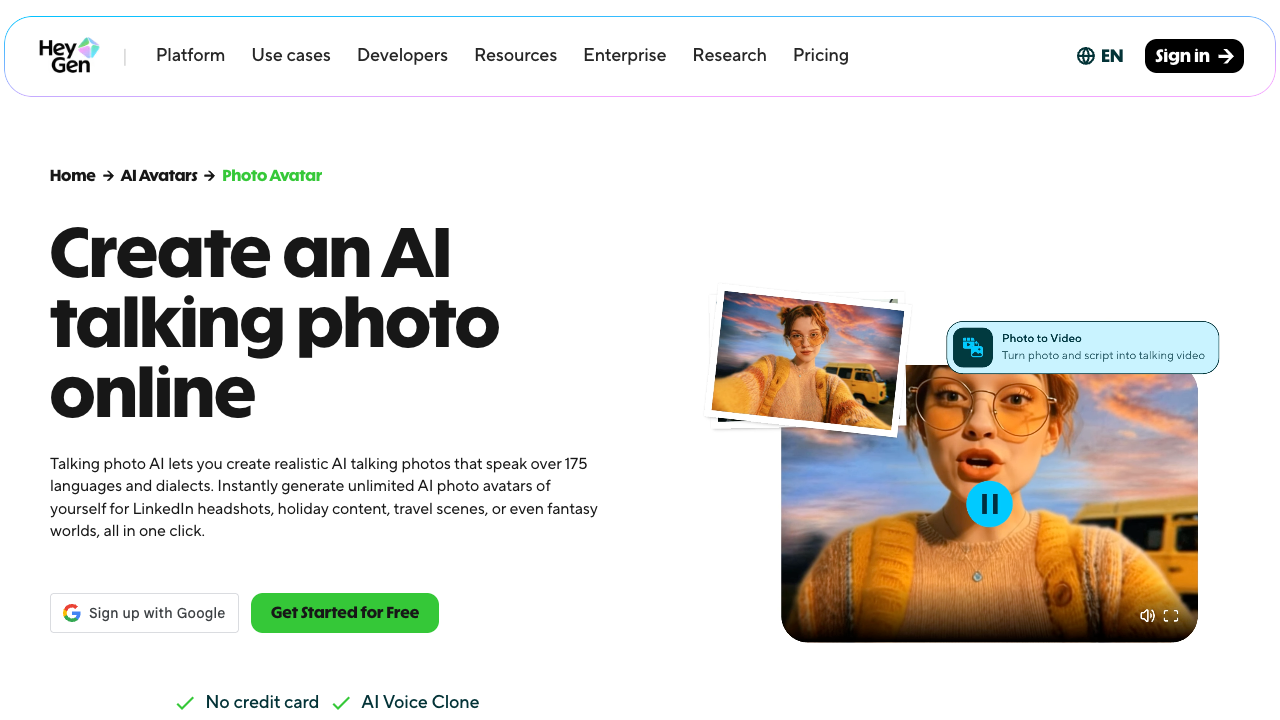
- Upload the upgraded still as the avatar input.
- Add the finished MP3 so the mouth movement follows your real voice track.
- Export the clip, then use PowerPoint or CapCut only if you want presentation timing or extra polish.
What makes this workflow useful
It is fast, approachable, and good enough for real use. If you need a talking visual for a lesson, explainer, or lightweight AI presentation, this gets you there without opening a heavy video project.
Where it starts to break
The note is honest about the tradeoff: the simple version does not automatically give you subtitles or perfect mouth-to-word matching. If that part matters, you still need an extra polish pass.
Best ways to use it
You do not have to stop at textbook characters. The same structure works for any situation where one character or one image needs to deliver a short line clearly.
- turning a mascot into a short presenter clip
- making a historical or illustrated figure speak in an explainer
- building narrated slides that feel less static
- testing a talking-avatar concept before committing to a full edit
Common snag to fix early
Several comments under the note point to the same issue: short clips can feel too brief or slightly unsynced. A practical fix from the creator is to let the video loop inside PowerPoint. For captions or closer mouth sync, move the assembled clip into CapCut after the first pass.