

Camera movement is not a decoration layer
One reason beginner AI videos feel messy is that motion gets treated like an afterthought. A better way to think about it is simple: create the first frame, decide how that frame should move, then cut the shots together. That makes camera movement a separate and important decision instead of a decoration you add at the end.
The short version
Pick your frame first. Pick your move second. Match the move to the emotion and job of the shot. If the move and the shot are fighting each other, the video feels off even when the image itself looks good.
Watch a clear camera-movement breakdown
If you want to see these motion types in action, this StudioBinder video is a strong companion to the guide below. It covers the same motion language in a way that is easy to compare against your own AI shots.
5 motion types worth learning first
You do not need all 12 types on day one. Start with a few moves that solve common creator problems: getting closer to the subject, revealing space, adding energy, or creating tension. The PNG set below is a good practical starter pack.
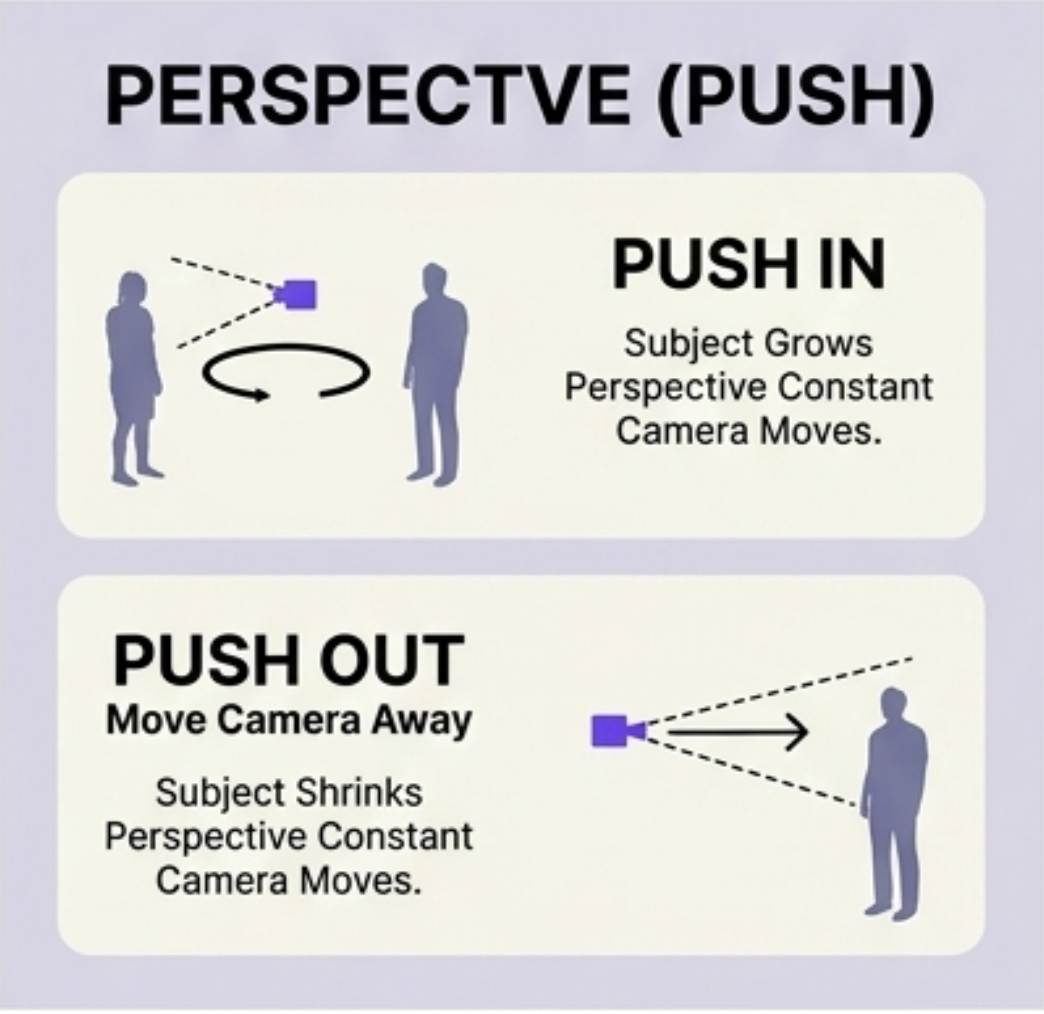
Push: make the viewer lean in
A push move travels the camera forward. In AI video, this is a simple way to increase focus and emotional pull without changing the subject too much.
- Good for product reveals, portraits, dramatic moments, and “watch this” openings.
- Works best when the subject is already strong and centered enough to deserve extra attention.
- If you overuse it, everything starts to feel over-serious.
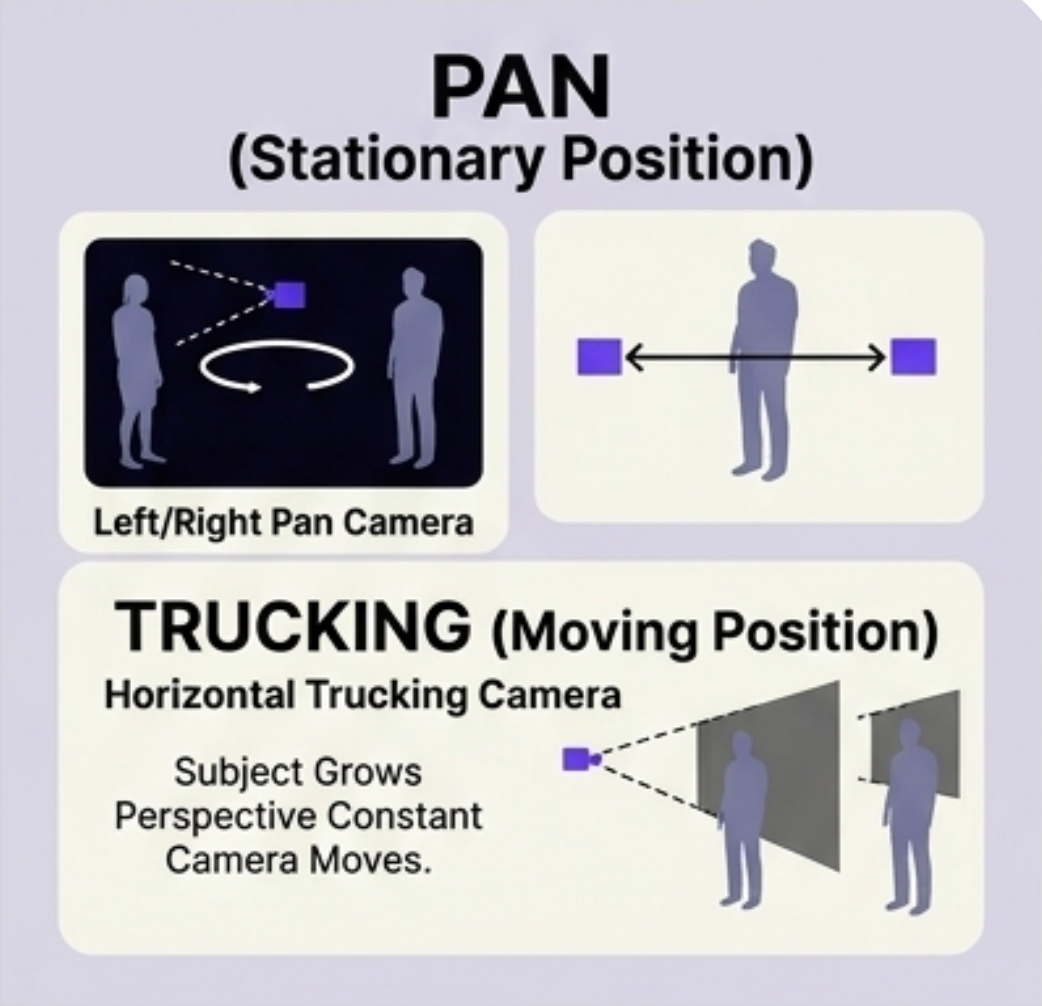
Pan: reveal the scene without changing distance
A pan rotates the camera left or right from one position. It is great when you want to show context, track a subject across frame, or let the viewer notice a wider environment.
- Good for room reveals, environment setup, and showing what the subject is looking at.
- Feels cleaner than a zoom when the goal is spatial orientation.
- If the scene already has too much happening, a pan can make it feel even busier.
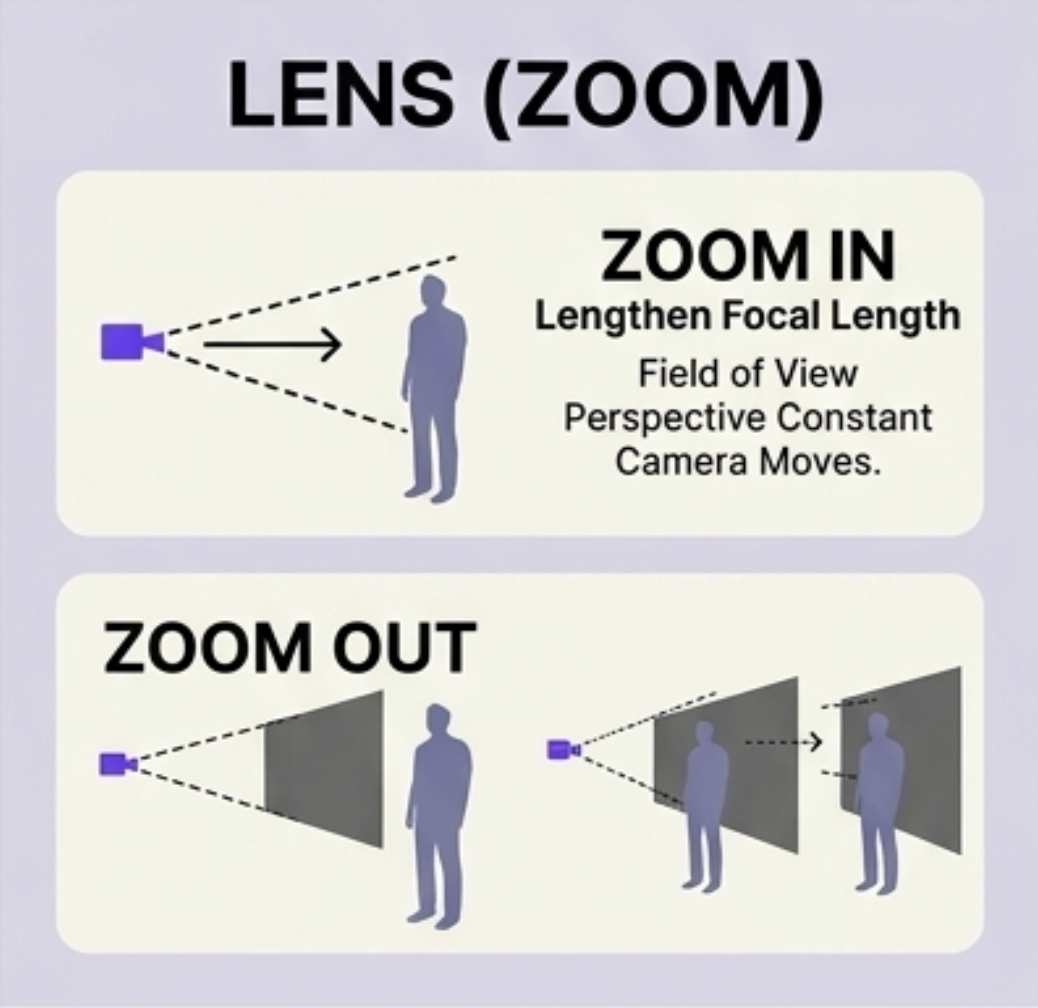
Lens zoom: change attention without moving the camera body
A lens zoom changes magnification rather than physical camera position. In practice, this can feel more graphic and less immersive than a push, which makes it useful when you want obvious emphasis.
- Good for highlighting details, reaction moments, and punchier social edits.
- Use it when you want viewers to notice a thing, not travel through the space.
- It can look cheap fast if every other shot zooms for emphasis.
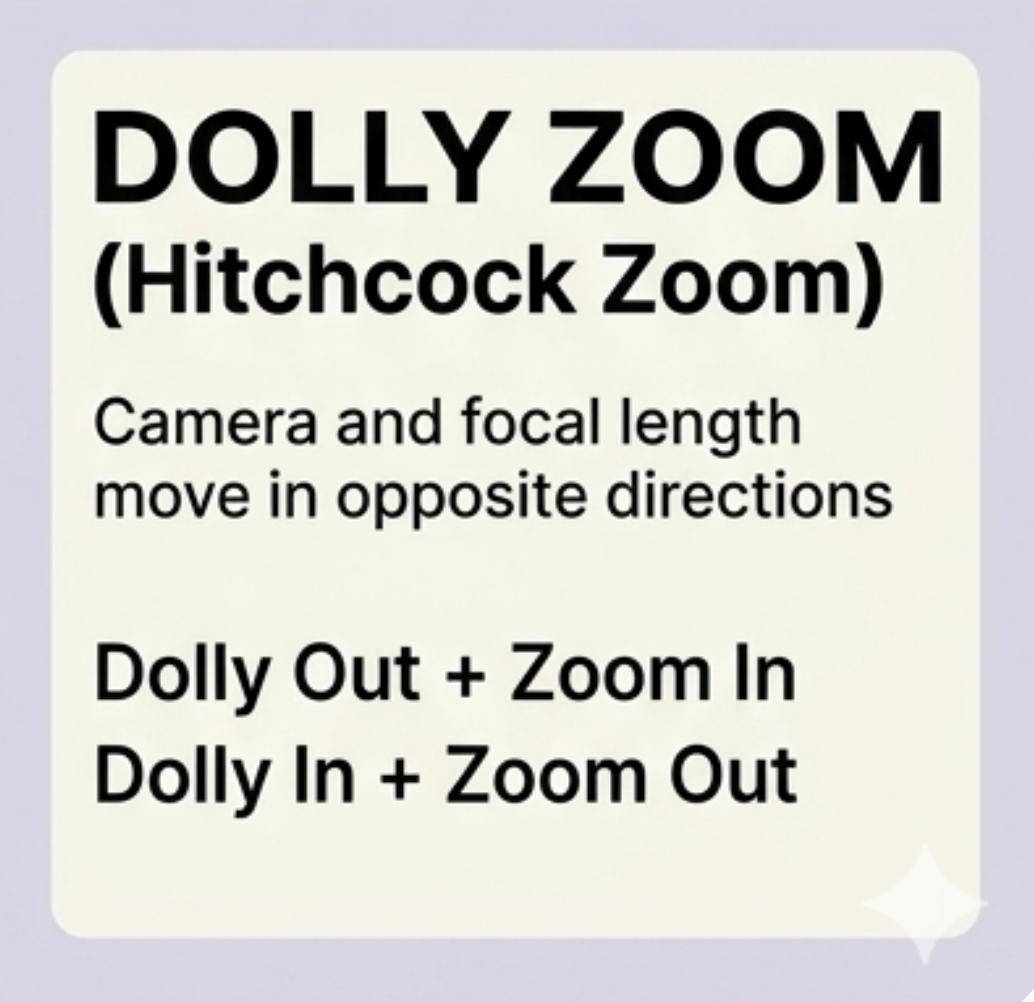
Dolly zoom: create tension or surreal distortion
The dolly zoom combines physical movement with lens change, so the subject stays similar in size while the background warps. This is not an everyday move, but it is powerful when you want a moment to feel strange, intense, or psychologically loaded.
- Good for shock beats, dream logic, fear, sudden realization, and stylized transitions.
- Best used sparingly so it still feels special.
- If the content itself is simple and calm, this move can feel like way too much.

Arc rotation: make the shot feel dimensional
An arc move circles around the subject. It gives a stronger sense of depth and is useful when you want an image to feel more alive than a straight-on shot.
- Good for hero shots, fashion, character intros, and objects you want to feel sculptural.
- Works well when foreground, subject, and background are visually separated.
- If the composition is weak, the arc move exposes that weakness instead of hiding it.
How to choose the move instead of guessing
Start with a push. It is the easiest way to add intimacy and priority.
Use a pan when the viewer needs to understand the space around the subject.
Try a lens zoom when you want the shot to point hard at one detail.
Save the dolly zoom for moments that should feel unstable or surreal.
Use arc rotation to make the subject feel more dimensional and premium.
Pick two or three motion types for the whole video, not a different trick for every clip.
What this means inside an AI video workflow
A clean sequence looks like this: decide the script beat, generate the still frame, choose the camera move that matches the beat, generate the motion clip, then cut it into the full edit. That is much more controllable than trying to improvise everything in one overstuffed prompt.
For creators, the practical win is simple: once you start naming the motion properly, your prompts get better, your clips get more consistent, and your edits feel less random.