Start with a tiny story, not a random topic prompt.
 OmniFit
Blog
OmniFit
Blog
Workflow · by Molly's AI Notes
How to make a cinematic AI vlog with 3 apps
If your AI videos feel impressive for one shot and messy by the third, this workflow fixes the order: write the story first, turn every line into a shot, then assemble the clips like a real edit.
Script first
Text-to-video shots
CapCut finish
Good for travel and mood vlogs
Why this one works
Each app only has one job. Your writing tool makes the story. Your video tool makes the shots. Your editor makes the rhythm. That split keeps the whole thing cleaner than trying to force one tool to do everything.
Turn each line into one short shot instead of one giant scene.
Voice, music, and pacing are what make the “movie” feeling land.
The workflow at a glance
This is a simple three-app chain for creators who want the result to feel cinematic without building a complicated pipeline. The original note uses DeepSeek for script writing, Jimeng for text-to-video, and CapCut for finishing. The logic travels well: you can use ChatGPT or DeepSeek for the writing pass, Dreamina or Jimeng for the shots, and CapCut for the final edit.
Keep it to about 80–120 words so the sequence stays shootable.
That single rule is what turns one paragraph into a usable shot list.
Generate 5–10 second pieces, then let the edit create the bigger mood.
Watch the process
A good companion tutorial for the generation step
This CapCut tutorial is a strong match because it is not just a flashy result reel. It walks through Dreamina Seedance 2.0 inside CapCut Video Studio, which lines up with the article's middle section: prompt in, shots out, then move to assembly.
Make the shots in the same order the note teaches them
The big win in the source post is sequencing. It is less about a secret prompt and more about not skipping from vague idea straight to edit.
01
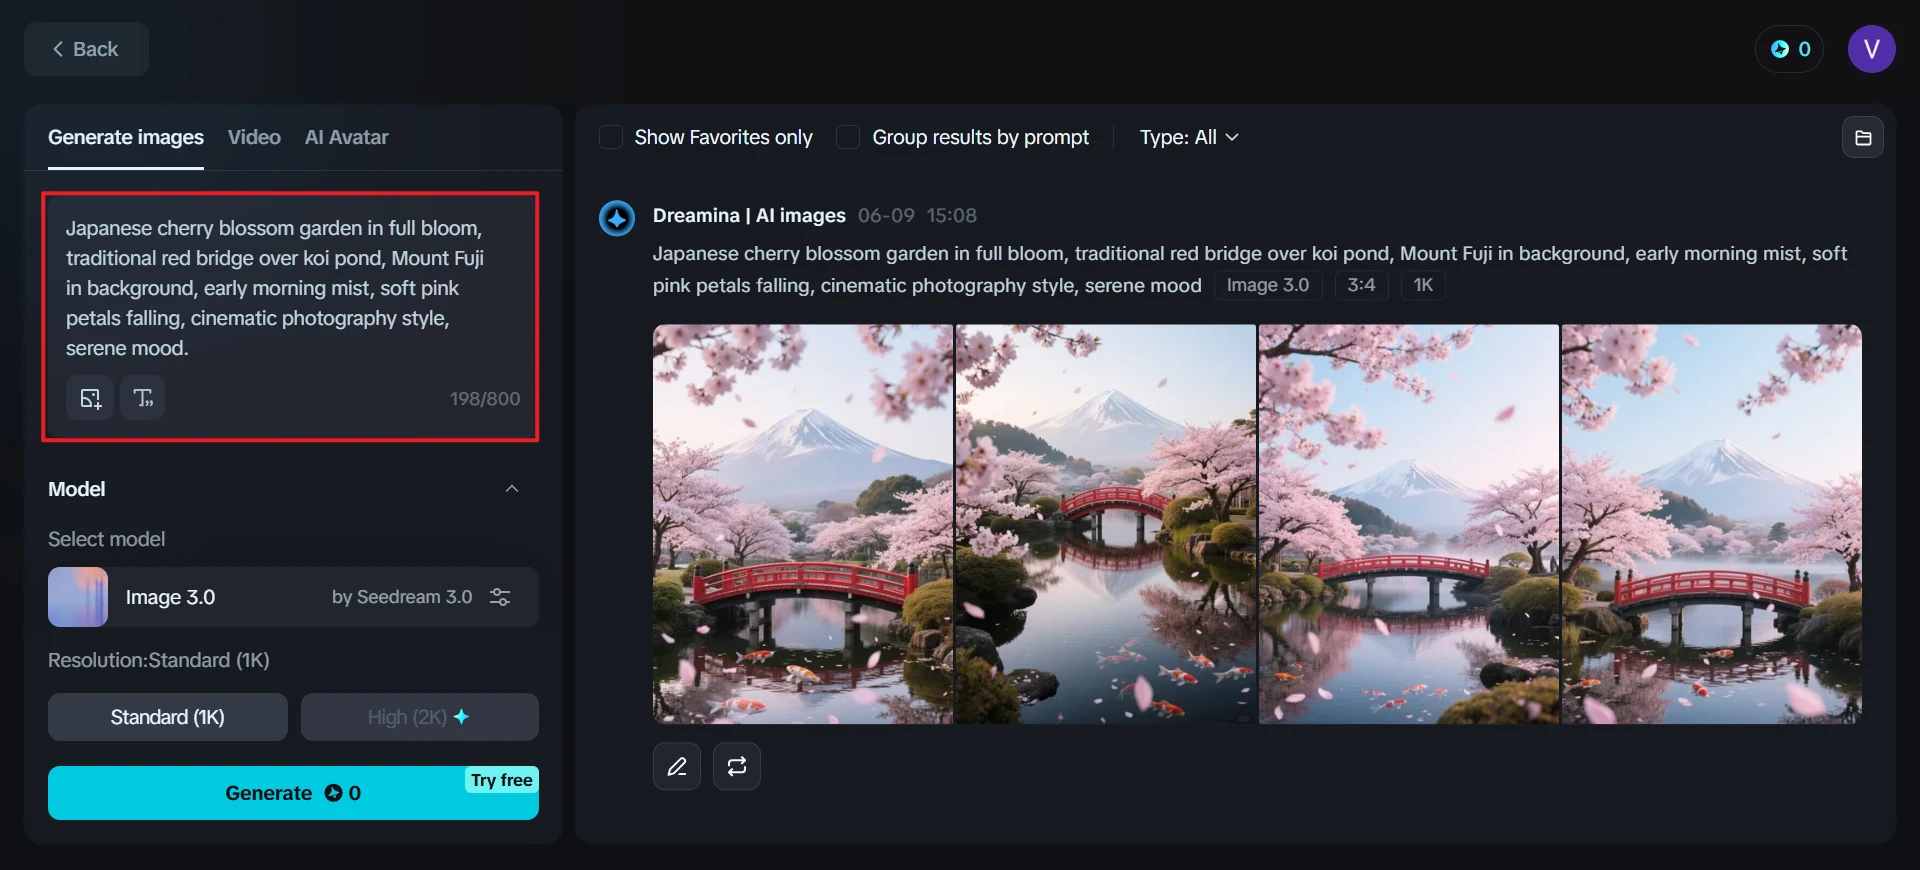
Write a short story with a clear place and mood
Start with a tiny scene, not a huge concept. The note uses a poetic Jiangnan water-town example, but the real lesson is to give the writing model a setting, tone, and tight length target so it returns something you can actually turn into shots.
- Ask for a short paragraph, not a screenplay.
- Pick one place, one feeling, and one simple visual thread.
- Keep the writing compact enough that every sentence can become a clip.
02
Turn every sentence into one shot prompt
This is the most useful part of the original note. Instead of asking the video model to invent the whole film in one go, you ask your writing tool to break the paragraph into scene-by-scene visual prompts.
- Give the model your finished paragraph and ask for one video prompt per line.
- Make each prompt concrete: subject, environment, camera feeling, and motion.
- If a line feels too broad, split it before you generate.
03
Generate each clip one by one
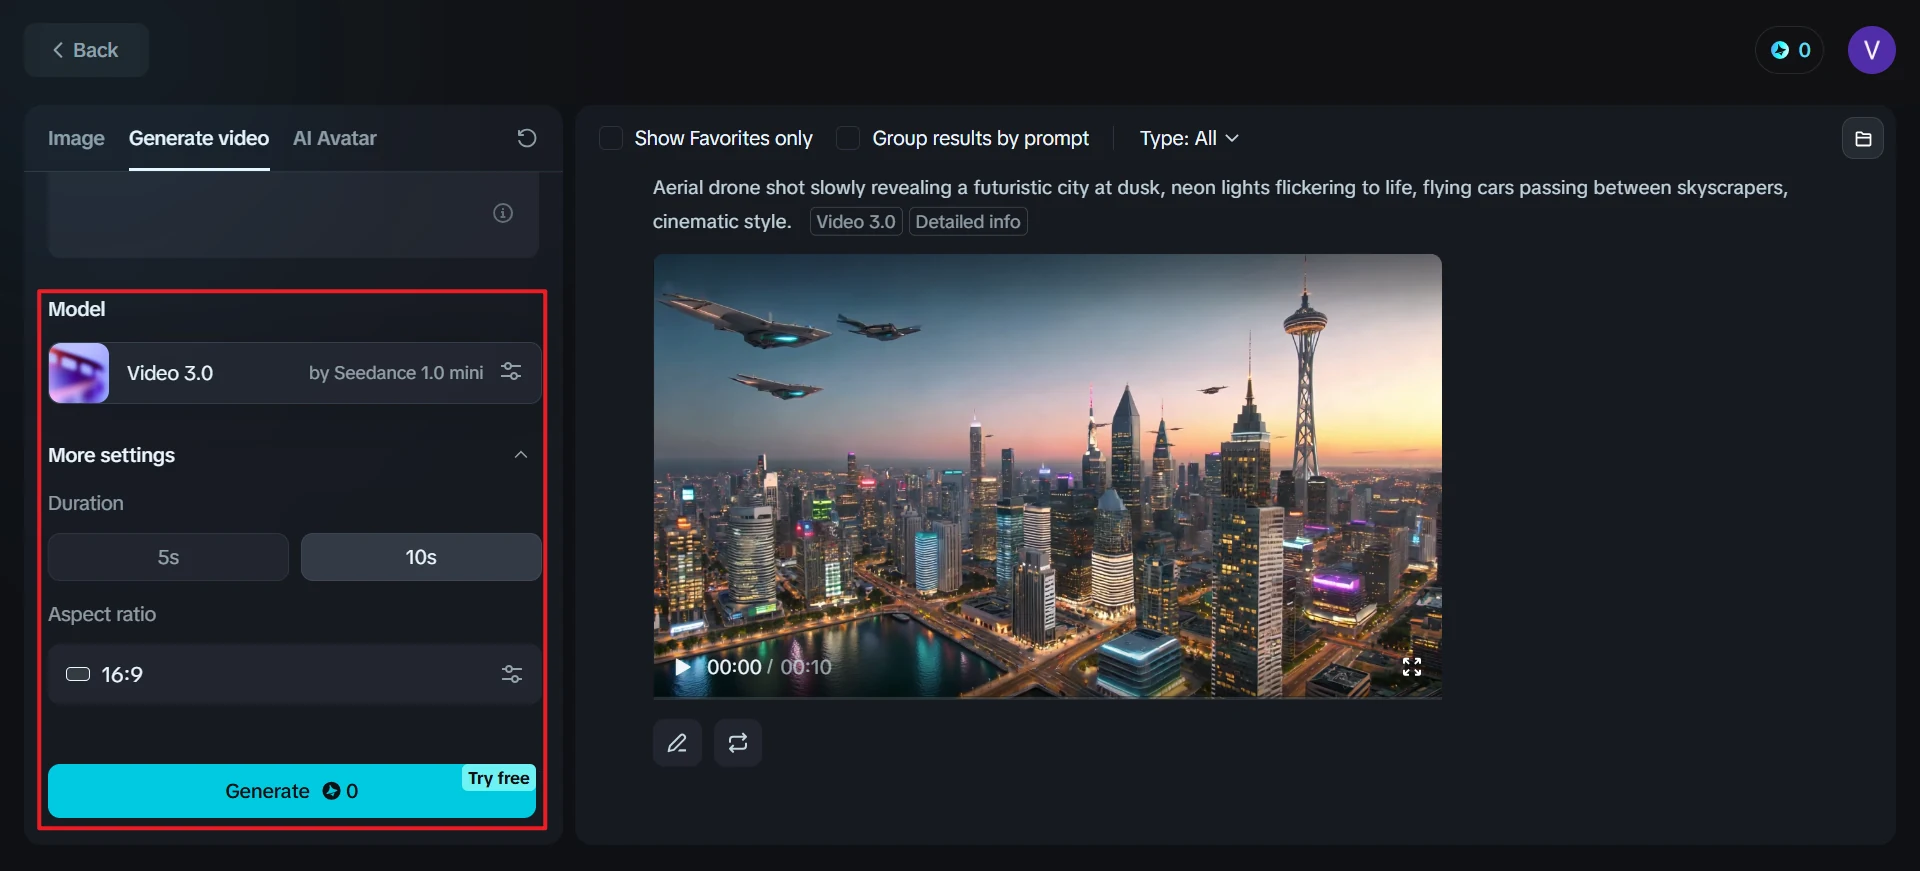
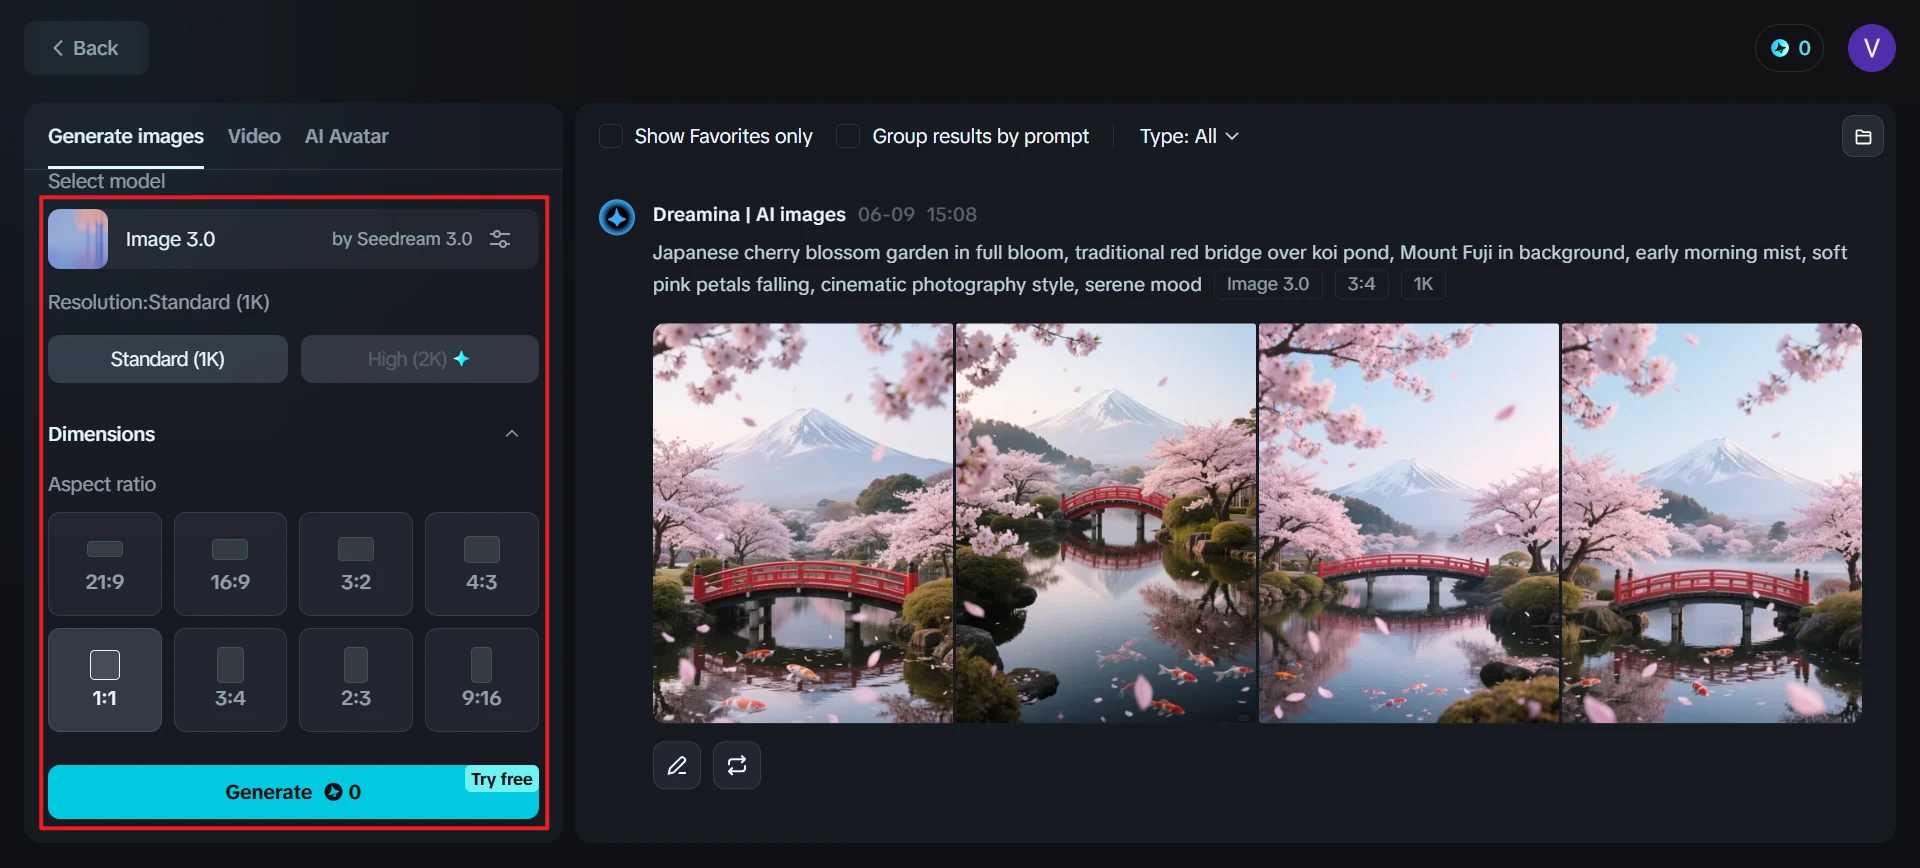
Paste the shot prompts into your video tool, keep the model defaults simple, and make each clip in 5 or 10 second chunks. The source note recommends repeating that process until every line has its own matching clip.
- Choose the aspect ratio before you start so the set feels consistent.
- Download every completed shot immediately and name them in sequence.
- Treat the generation pass like collecting footage, not finishing the movie.
04
Assemble the clips in CapCut and add the feeling there
The last step is where the separate shots start reading like one piece. Import the clips in order, add voiceover or a built-in AI voice, layer music under it, and trim the pacing until the story flows.
- Drop the clips onto the timeline in story order before adding effects.
- Voice and music matter more than fancy transitions here.
- Export only after the rhythm feels deliberate, not rushed.