
A lightweight way to go from prompt to finished clip
A lot of AI-video advice still skips the boring part: setup. This workflow is useful because it starts with the actual operating logic. Log in the right way. Watch your credits. Generate stills with the right ratio. Then turn the best image into motion and export the clips you want to keep.
Why this post landed
It treats Dreamina like a real creator tool, not a magic button. That means small decisions matter: whether you start on mobile, whether you burn credits on video too early, and whether you lock the aspect ratio before making more assets.
The 6-step workflow
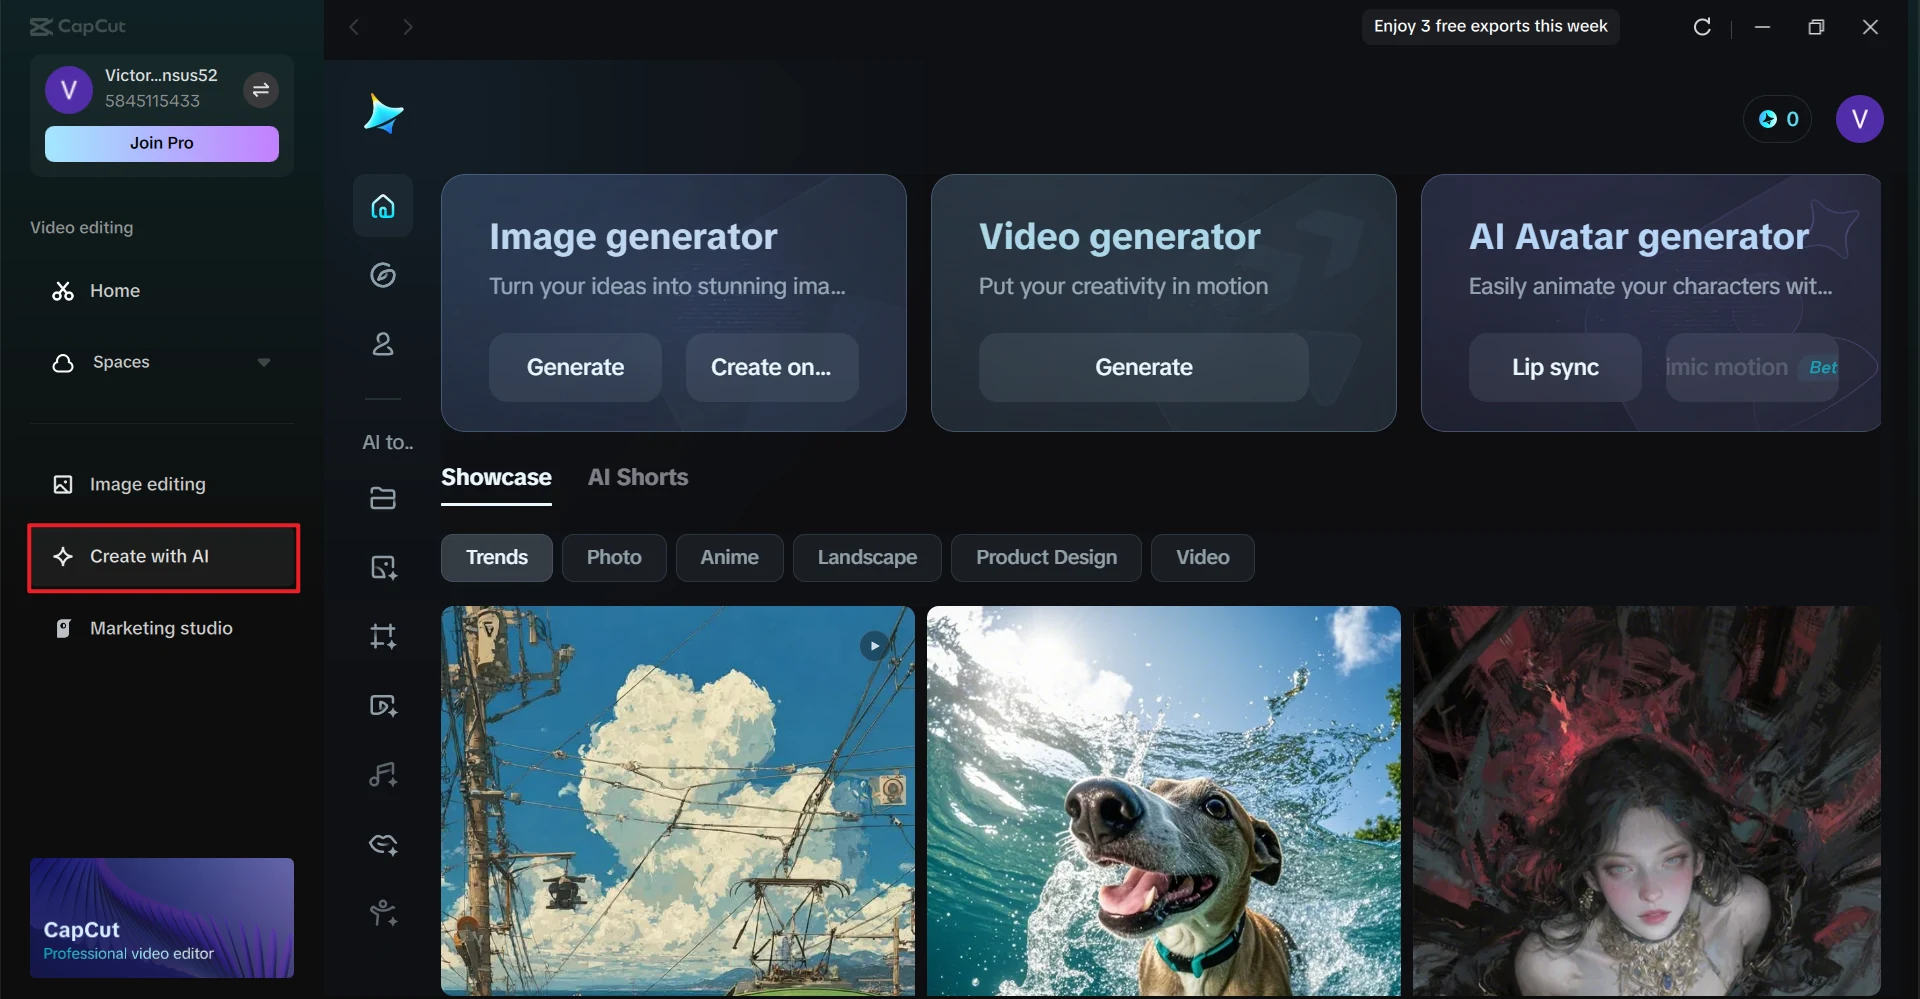
Log in on mobile first, then use the web version
The post starts with access, because that is where a lot of people get stuck. The creator’s flow is simple: use the Dreamina mobile app first, connect the account there, then switch to the desktop web experience for the actual making.
- Handle the first login on mobile.
- Move to desktop when you want a cleaner creation workspace.
- Treat access as part of the workflow, not an afterthought.
Use credits carefully
One reason this tutorial feels real is that it talks about cost before output. Still images are cheap. Video is not. If you spend all your credits on rough motion too early, you lose room to iterate.
- Use still images to test concepts first.
- Save video generations for frames that already look right.
- Think in rounds: concept, selection, motion, export.
Generate four still-image options
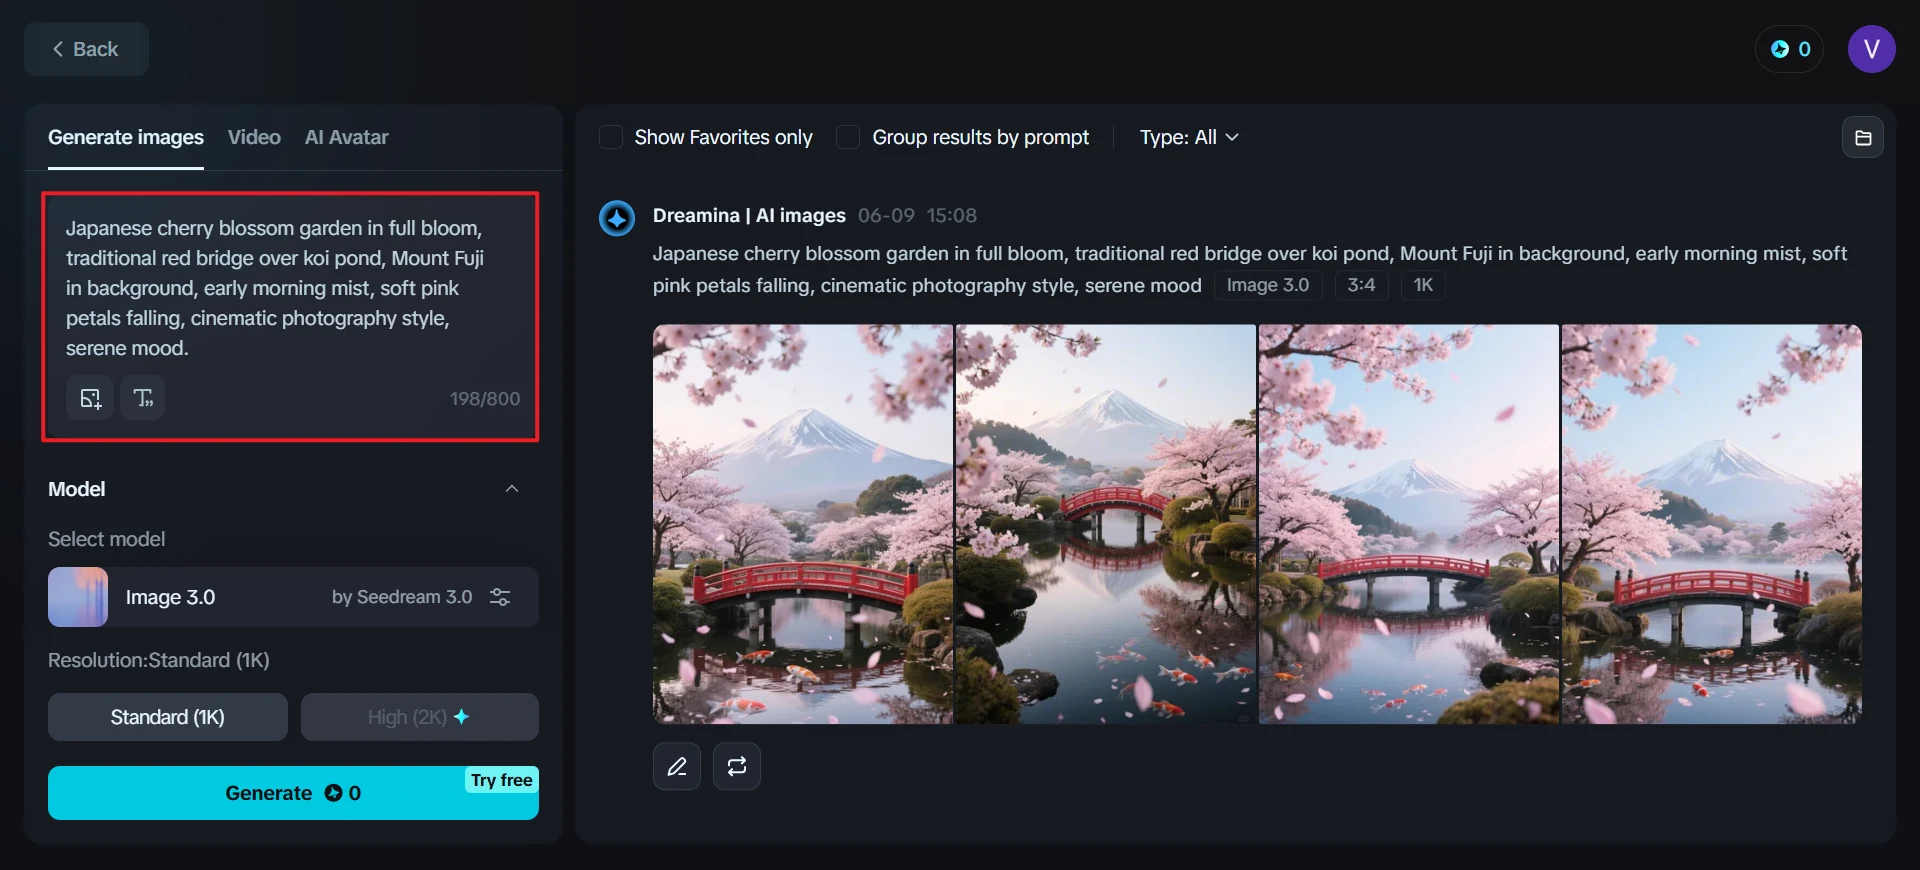
The image stage is where the visual language gets locked. The post recommends writing a clear text prompt, setting image parameters, and generating a batch of options instead of betting on one shot.
- Write one clean prompt for the frame you want.
- Use the generator to create multiple options at once.
- Pick the best still before you ask the tool to animate anything.
Set the aspect ratio before you keep going
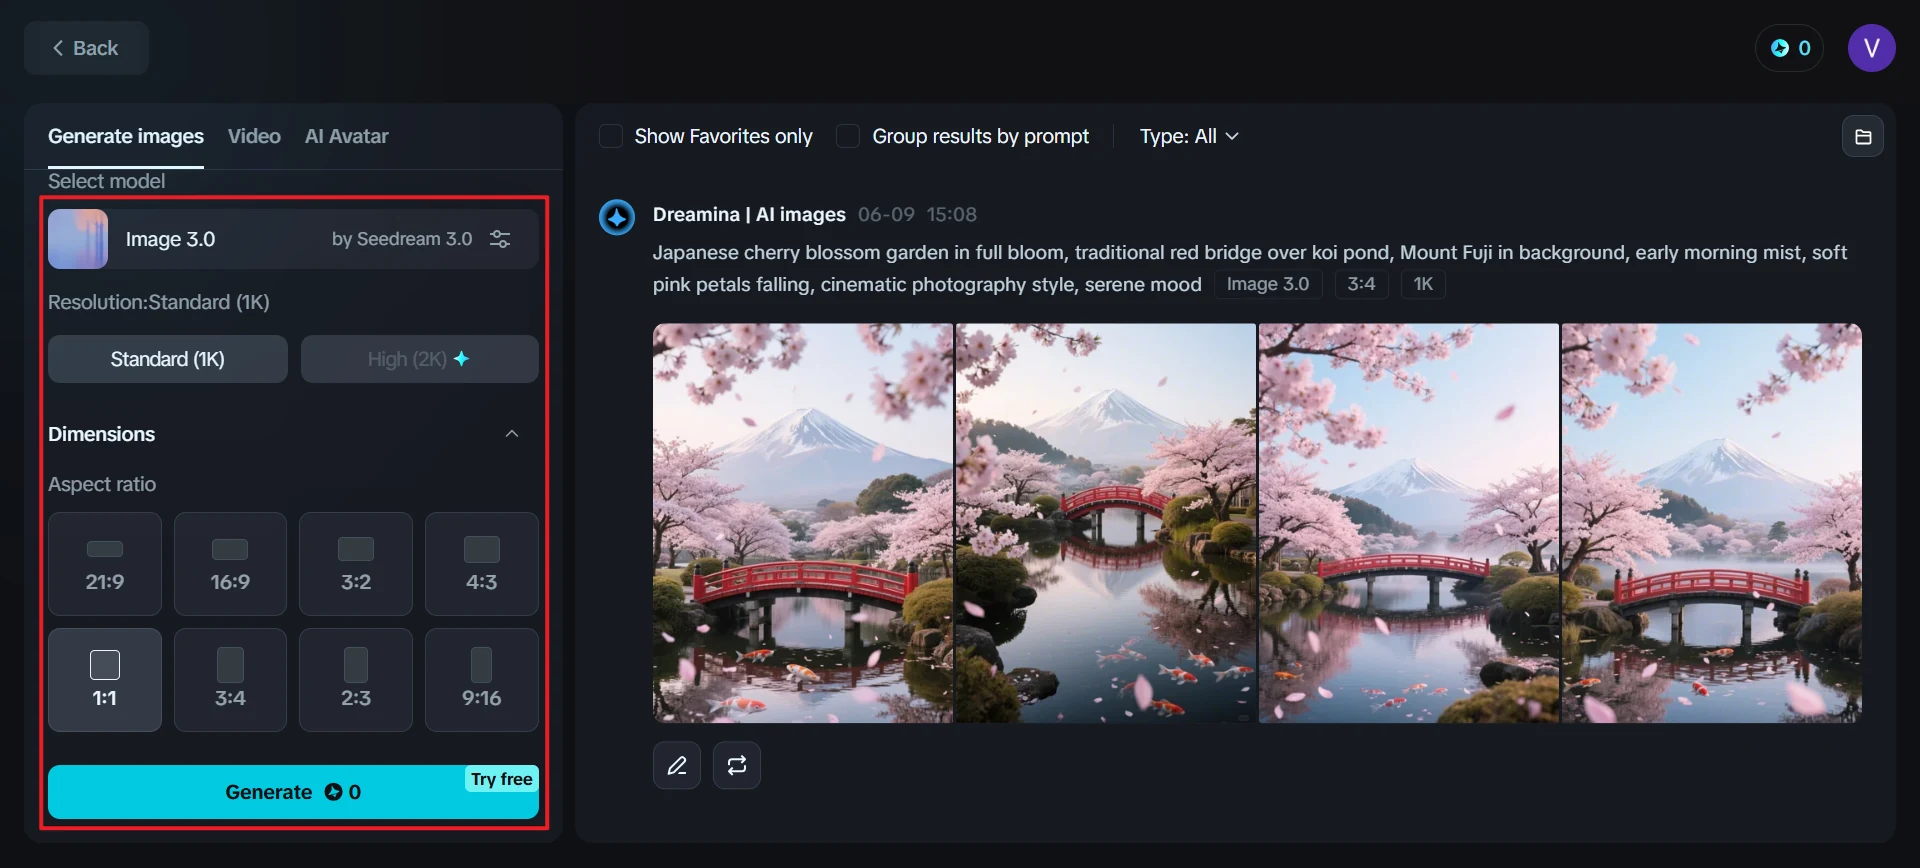
The source post gives practical ratio defaults: 16:9 or 4:3 for landscape, 3:4 or 9:16 for portrait. For short-form social video, vertical is the easiest default to start from.
- Pick portrait if the final destination is short-form mobile video.
- Use landscape only when the project really needs it.
- Lock the frame shape before building more shots around it.
Turn the still into motion in one of three ways
This is the part people usually came for: motion. The post shows three paths inside Dreamina — start from an existing generated image, start from a text prompt, or upload a local image and animate that instead.
- Image-to-video for the cleanest continuation of a still you already like.
- Text-to-video when the motion idea matters more than a specific frame.
- Upload-to-video when you want to start from your own source image.
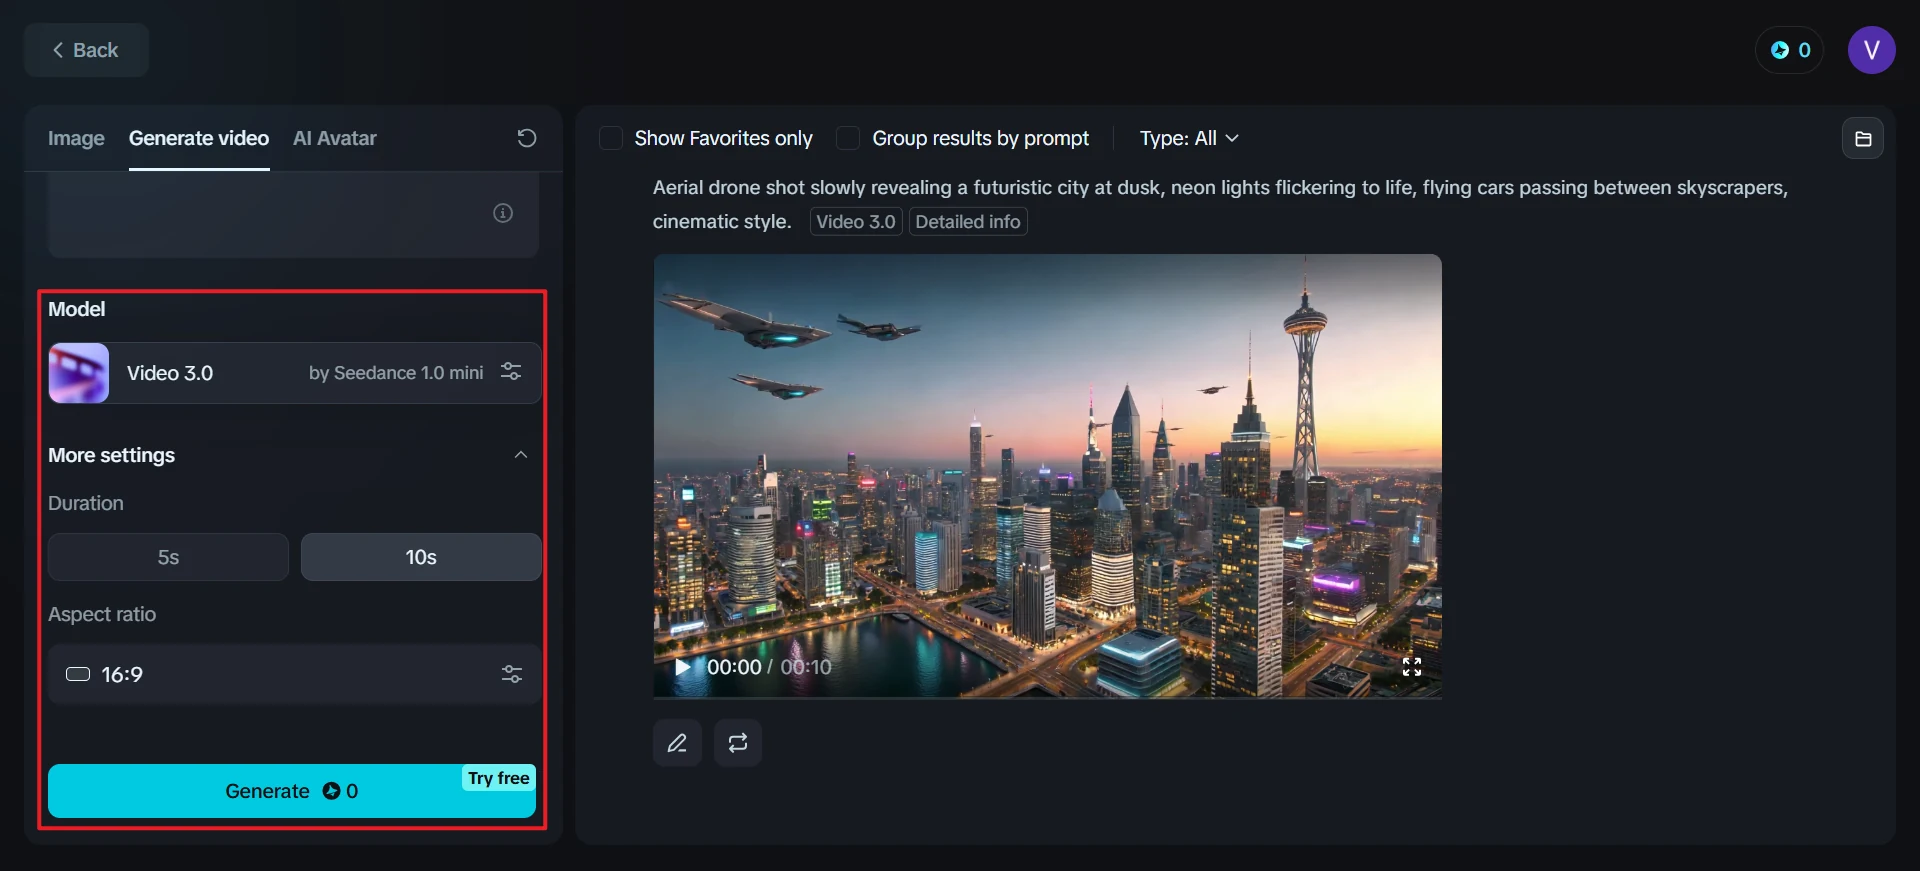
Export the short clips and finish in your editor
The generated videos are short, which is why this workflow works best in pieces. Export the good clips, then bring them into your editor to build the full sequence, tighten the pacing, and add captions, music, or voice.
- Keep the clips that already look right.
- Assemble the final story outside the generator.
- Think in modular shots, not one giant all-in-one render.
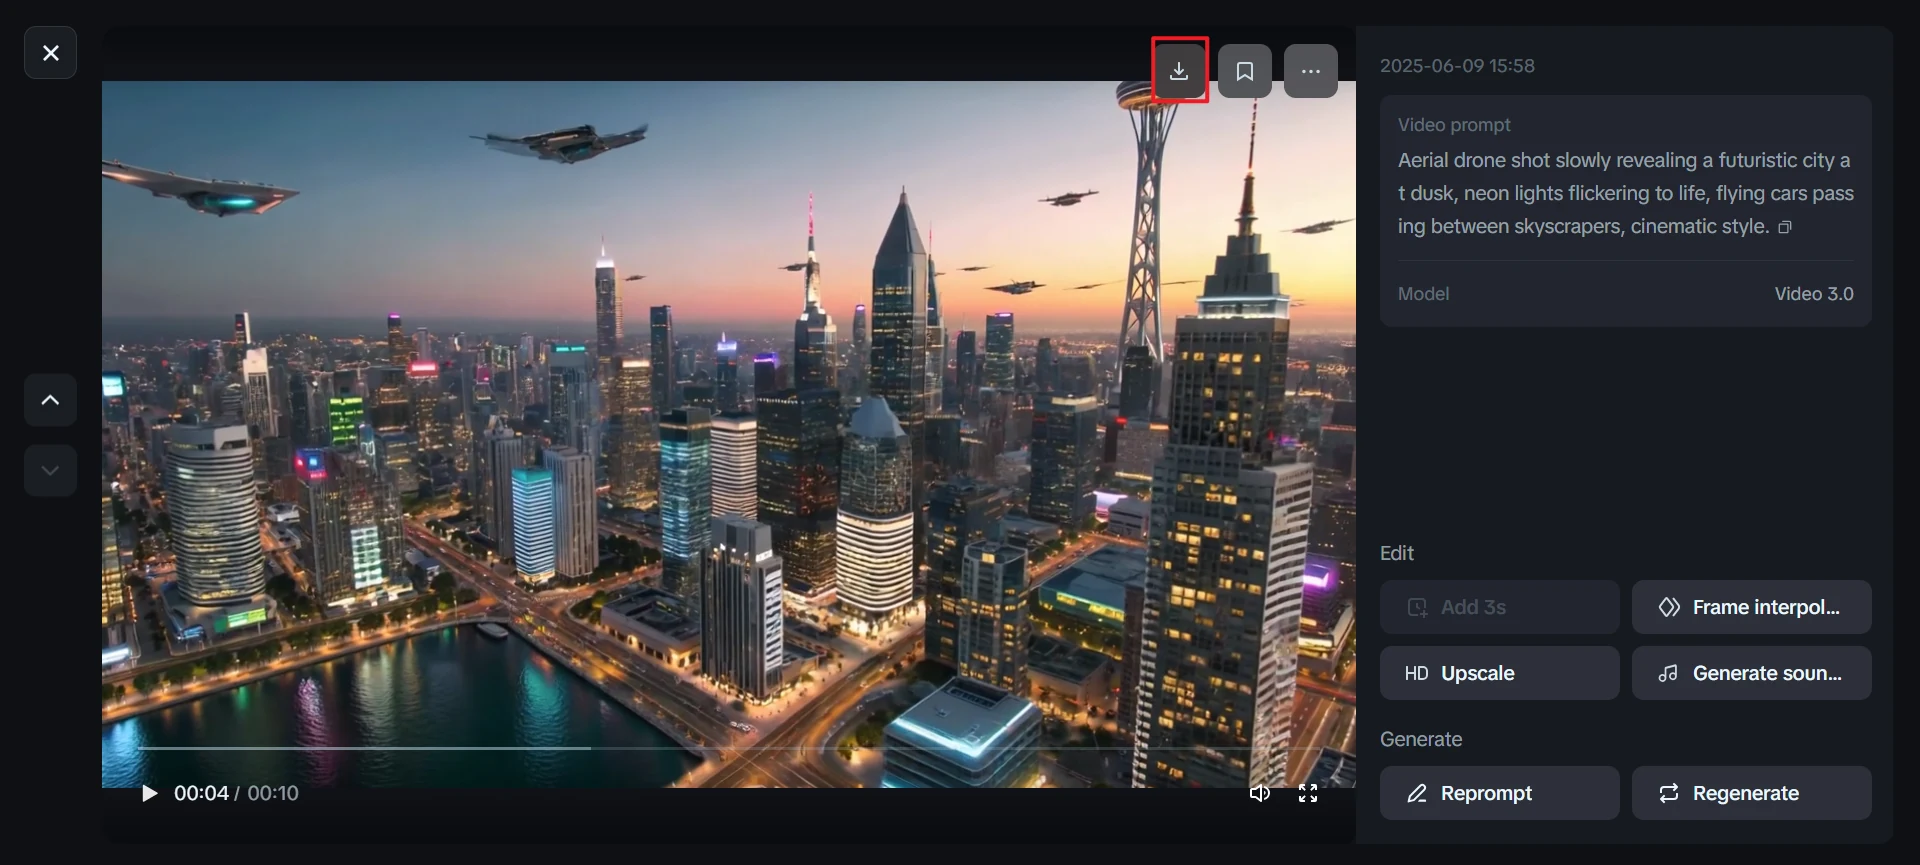
Why this workflow works
It makes Dreamina feel manageable. You are not asking one prompt to solve concept, composition, movement, and editing at the same time. You are first making a frame that works, then giving that frame motion, then deciding which clips deserve a place in the final cut.
That order gives you more control over both style and budget. It is especially good for creators who want repeatable short-form output instead of one lucky generation.
Tool stack, in plain English
Use a language model like ChatGPT or DeepSeek to clean up your image prompt before it goes into Dreamina.
Use Dreamina to make several image options, then choose the strongest frame.
Stay inside Dreamina for text-to-video, image-to-video, or uploaded-image animation.
Move the exported clips into your editor for pacing, captions, narration, music, and the final post.
Easy mistake to avoid
Do not jump into video mode too fast. First get one still that already feels like the shot. Motion works better when the frame is already carrying the idea.